使用 git rebase --onto 無痛更新分支
31 Jan 2025提交 PR 前需要更新 feature branch 的 base branch,這時候就可以使用 rebase --onto 來無痛更新分支,直接將 feature branch 的 commit 接到 main branch 之後。
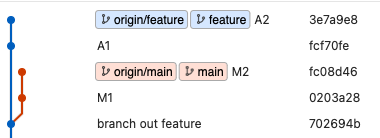
首先,我們有 main 和 feature 兩個分支,main 分支上有 M1 和 M2 兩個 commit,feature 分支上有 A1 和 A2 兩個 commit。其中,feature 分支是基於 main 分支 commit 702694b 建立 (branch out)。這個 commit ID 是必須要記住的,稍等會用到。
這時候希望把 feature 分支上的 A1 和 A2 兩個 commit 接到 main 分支的 M2 之後,就可以使用 rebase --onto 來無痛更新分支。
步驟:
- 切換到 main 分支。
- 更新到最新的 main 分支。
git checkout main git pull origin main - 切換到 feature 分支。
- 使用
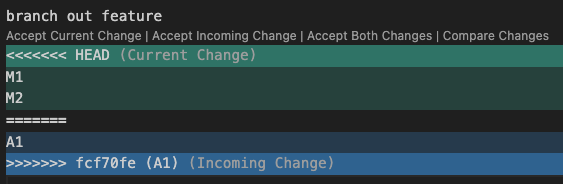
git rebase --onto來更新分支。git checkout feature git rebase --onto main 702694b - 修復衝突、繼續 rebase。在解決衝突時,依據 codebase 的狀況來決定要如何處理,可以使用
git add <file-path>或git add .加入要變更檔案,然後使用git rebase --continue來繼續 rebase。 - 推送分支 (
git push origin feature -f)。
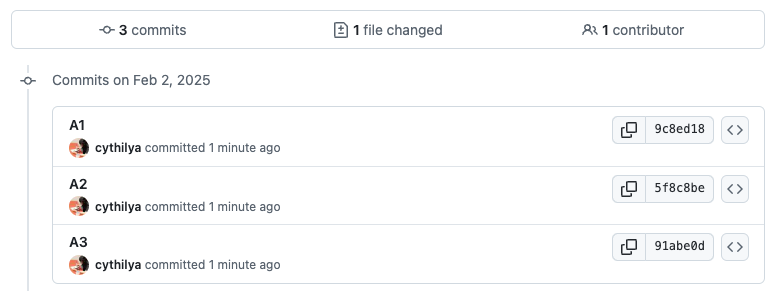
推上遠端之後,在 GitHub 上看到 feature 分支的 commit 已經接到 main 分支的 M2 之後。
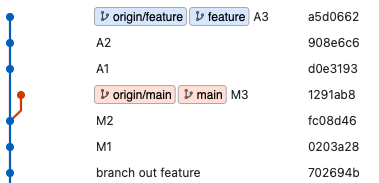
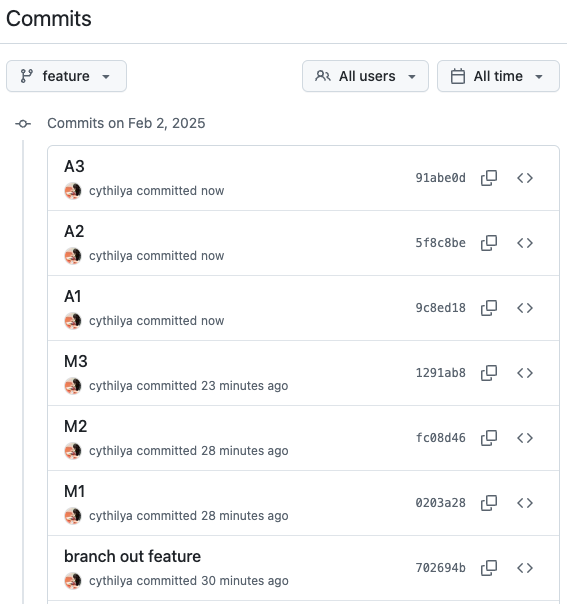
若持續開發,main 分支上有新加入的 M3 commit,feature 分支上也有新加入的 A3 commit,要再次更新 feature 分支至最新的 main 分支,也就是把 A1、A2、A3 接到 M3 之後,只需要重複上述步驟即可。同樣也是使用 git rebase --onto 來無痛更新分支,基準點仍是 feature 的 branch out 的 commit ID 702694b。
git checkout main
git pull origin main
git checkout feature
git rebase --onto main 702694b
再次推上遠端,在 GitHub 上看到 feature 分支的 commit 已經接到 main 分支的 M3 之後。
這樣就可以無痛更新分支,並且保持 commit history 的整潔。
結論
- 和
git rebase的差異是,git rebase會將 feature branch 上的所有 commit 重新 apply 到 main branch,可能導致較多的衝突。相較之下,git rebase --onto可以選擇特定範圍的 commit 進行 rebase,減少不必要的變更,有效降低解衝突的機會。 - 和
git merge的差異是,git merge會產生一個額外的 merge commit,保留分支合併的歷史。而git rebase --onto會將 commit 直接接到指定的 commit 之後,不產生 merge commit,使 commit history 更加清晰、線性,也更容易追蹤變更來源。 - 和
git cherry-pick的差異是,git cherry-pick可以選擇單一或多個 commit 進行應用,並且會產生新的 commit ID,這可能導致相同內容但不同 ID 的提交出現在不同分支中,使歷史稍微複雜。git rebase --onto也會產生新的 commit ID,但可以選擇連續的提交範圍進行重疊應用,並保持提交歷史的線性,適合需要重構分支歷史的情況。

